 TIGERFASTENERS
The Thread Allowance Is About One Eighth of a Layer
Two questions keep coming back on r/3Dprinting. One asks plainly how bad a printed thread’s tolerance is compared to a lathe. The other is a designer reporting weeks of work in CAD, refining everything “from threads profile to tolerance offsets” so that a full prop could be assembled without glue or metal. The two best-received answers to the first were both a version of do not use a thread. There is one number that explains all of it, and it is in the tolerance standard.
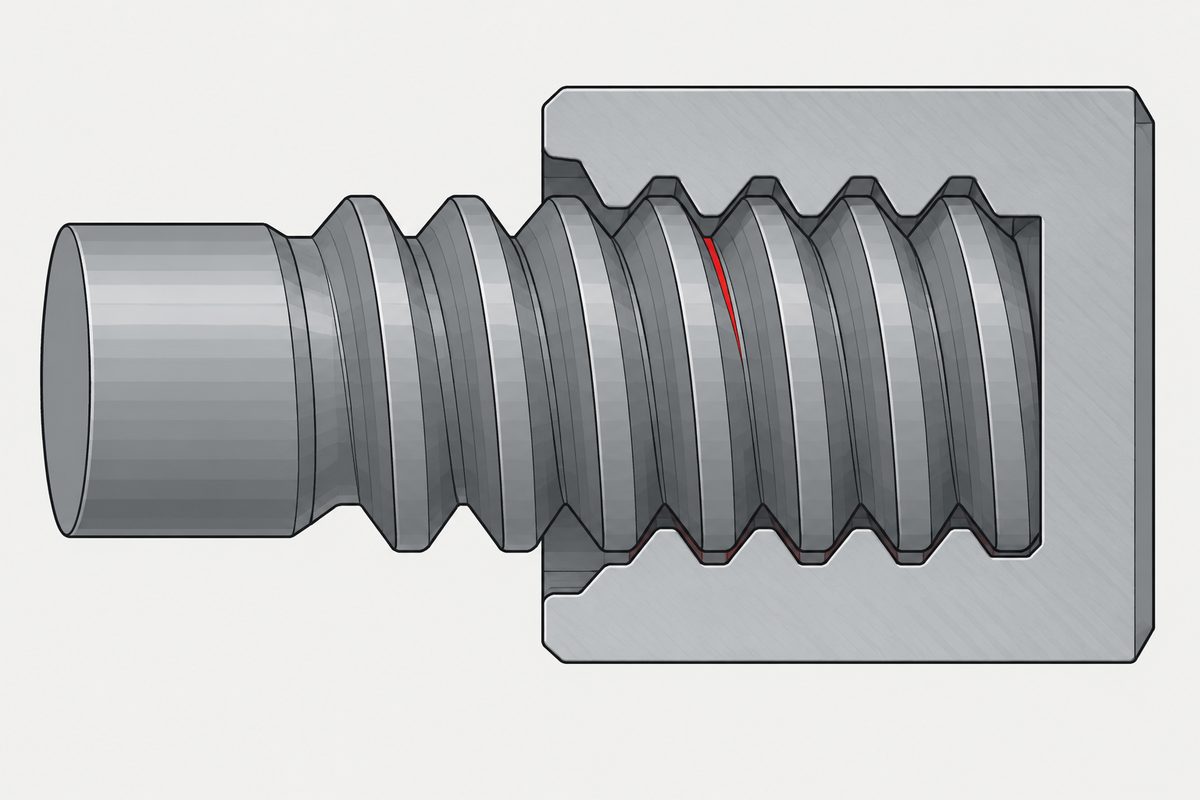
What the standard reserves
The letter in a thread class is the tolerance position, which is the deliberate clearance built into the specification. That much is the number and the letter answer different questions. What that page does not give, and what turns out to settle this, is how big the clearance actually is.
ISO 965-1 tabulates it by pitch rather than by diameter, in micrometres:
| Pitch | G (internal) | H | g (external) | h |
|---|---|---|---|---|
| 0,5 mm | +20 | 0 | −20 | 0 |
| 0,8 mm | +24 | 0 | −24 | 0 |
| 1 mm | +26 | 0 | −26 | 0 |
| 1,25 mm | +28 | 0 | −28 | 0 |
| 1,5 mm | +32 | 0 | −32 | 0 |
| 2 mm | +38 | 0 | −38 | 0 |
An M6 coarse thread has a pitch of 1 mm, so a 6g screw is given 26 micrometres of designed clearance. That is the whole allowance. It is what stops a coated bolt binding in a nut, and it is the reason plating eats the thread tolerance at small sizes.
Now put it in the printer’s units
A widely used layer height is 0,2 mm, which is 200 micrometres. The entire ISO allowance at M6 is 26. The clearance the standard reserves is about one eighth of a single layer. And since the pitch is 1 mm, the whole thread form is five layers tall.
Nothing in that comparison is a criticism of either side. The tolerance system was written for processes that remove material, where a quarter of a layer is a coarse step, and it works. A printer places material in discrete beads, and its smallest vertical move is most of a thread flank. They are simply not written in the same units, and the difference is not marginal.
The same arithmetic gets worse going down. At M3, pitch 0,5 mm, the allowance is 20 µm, one tenth of a layer, and the pitch is two and a half layers. Which is roughly where people stop trying.
Which is why the offsets everyone uses are what they are
The usual fix is to scale the thread or add a clearance offset in CAD, and the numbers people settle on live in tenths of a millimetre. Against a 26 µm allowance, that is eight to fifteen times what the standard reserves.
That is not people being sloppy. It is the smallest correction the process can actually deliver, because a correction smaller than a layer cannot be placed. It does mean one thing worth being honest about on a drawing: a printed thread that works because 0,3 mm was added is not a 6g/6H fit. It is a fit with no designation, arrived at by test, and it will not interchange with a bought fastener without being checked.
There is a related trap in the modelling. Drawing a thread at nominal size is drawing it at h and H, whose fundamental deviation is zero. That is the tightest position the system offers, chosen deliberately when a coating is going to be added afterwards. Model to nominal and print it, and you have asked for zero clearance and then added a staircase on top.
Orientation changes which staircase you get
A printed thread is a helix approximated by stacked contours, and where the approximation shows up depends on how the part sits on the bed.
| Axis | Where the flank is approximated | What else changes |
|---|---|---|
| Vertical | In Z, at layer height. Five steps per pitch at 0,2 mm and M6 coarse | The thread is loaded across the layer bonds, which is the weak direction |
| Horizontal | In the XY plane, at extrusion width rather than layer height | Overhanging flanks need support or bridging, and the thread is no longer round |
The one thing both orientations share is that the thread root is a stress concentration in a material that is already weakest between layers. The comment that got 84 points on the source thread is pointing at the same physics from the other side: hollowing the bolt adds walls in the direction the load runs, and walls are the part of a printed cross-section that carries.
The answer the experienced people gave
On the thread that asked how printed tolerance compares to a lathe, the two most upvoted replies both said, in different words, do not use a thread here. Print a plain cylinder and sand it to fit. Press-fit a nut into the part and let the screw engage steel. Use an interference fit and set it once.
That is the right instinct, and it is the same ladder this site sets out for moulded plastics, with one rung added at the bottom:
| Option | Buys | Costs |
|---|---|---|
| Printed thread | No second part, no tooling, assembles by hand | A fit with no designation, low and unpredictable load, and it does not survive many cycles |
| Screw into a printed boss | A metal screw doing the work, one part to buy | The thread is formed in the plastic, so the torque window is the specification. See screws into plastic |
| Heat-set insert | A metal thread in a plastic part, and repeated disassembly | A second operation, and a hole size that has to account for displaced volume. See the plastic has to go somewhere |
| No thread at all | Press fit, snap fit, captured nut. Often the cheapest correct answer | Set once, and the joint has to tolerate being set once |
Where a threaded fastener stops being the right component at all, for reasons that have nothing to do with printing, is when not to use a screw.
This page covers step 2, the thread. The whole order is substrate, thread, head, drive, finish, documentation, and why doing it out of order is rework rather than a tweak is in specifying a screw.
Common questions
How much clearance does the ISO thread system actually reserve?
ISO 965-1 tabulates it by pitch. At one millimetre pitch, which is M6 coarse, position g gives 26 micrometres on the external thread and position G gives the same amount on the internal one. At 0,5 mm pitch it is 20 micrometres, and at 2 mm it is 38. Positions h and H have zero fundamental deviation, meaning no allowance at all, which is why they are chosen when a coating is going to be added later.
Why do printed threads need such large offsets?
Because the correction has to be at least the size of the smallest feature the process can place. A common layer height is 200 micrometres against an ISO allowance of 26 at M6, so the standard reserves about an eighth of a layer and there is nothing there for the printer to hit. The offsets people settle on live in tenths of a millimetre, which is eight to fifteen times the ISO allowance. That is the process speaking, not carelessness.
Is a printed thread that fits well still a 6g/6H fit?
No, and it is worth being explicit about on a drawing. A thread that works because 0,3 mm of clearance was added is a fit arrived at by test, with no designation behind it. It may well be fine in the assembly it was tuned for. It will not reliably interchange with a bought fastener, and nobody downstream can look up what it is.
Should I model the thread at nominal size?
Modelling at nominal is modelling at h and H, whose fundamental deviation is zero. That is the tightest position the system offers and it exists for the case where a coating will be added afterwards. Printing it means asking for zero clearance and then adding the layer staircase on top of that, which is why parts modelled that way seize.
Does it matter which way up the thread is printed?
It changes which approximation you get and which direction the load runs in. With the axis vertical the flank is stepped at layer height, five steps per pitch at M6 coarse and 0,2 mm layers, and the thread is loaded across the layer bonds. With the axis horizontal the flank is approximated in the XY plane at extrusion width instead, overhanging flanks need support or bridging, and the thread is no longer round.
References
- ISO 965-1:2013 — ISO general purpose metric screw threads, tolerances, principles and basic data; clause 1 scope and Table 1, fundamental deviations for internal and external threads
- r/3Dprinting — weeks of refinement from thread profile to tolerance offsets, and the comment about walls carrying the load
- r/3Dprinting — how bad is a printed thread’s tolerance against a lathe, where the best answers were to avoid the thread
ISO 965-1:2013 was read from the publicly available preview PDF, which carries clause 1 and Table 1 in full; every fundamental deviation quoted here comes from that table, which is indexed by pitch rather than by diameter. The preview stops at page 7, part way through Table 4, so the pitch diameter tolerance grades for anything above 2,8 mm basic major diameter are outside it and no tolerance grade value is quoted on this page. The 0,2 mm layer height is a widely used community setting, not a standard, and the comparison scales with whatever layer height you actually run. The offsets described as being used in practice are what the source threads and the wider community report; this page recommends no offset value, because it depends on the printer, the material and the extrusion width, and we have run no test of our own. We found no published strength measurement for printed threads that we were willing to cite, so no load claim is made here. One note on editions. The preview read here is ISO 965-1:2013, the fourth edition. A fifth edition dated 2026 supersedes it, incorporating Amendment 1 of 2021, and that is the catalogue entry linked above and used elsewhere on this site. We could not read the fifth edition, so we cannot confirm whether Table 1 changed; the values here are the 2013 ones and should be checked against the current edition before they go on a drawing.
Enquiries
If a printed part is going to meet a bought fastener, send the thread class you want the metal side to be, not just the size. The printed side will be a fit arrived at by test whatever we do, and knowing which designation the other half is held to is what makes the pair checkable.
Request a quotation
Tell us the part and the quantity. We will come back on feasibility, lead time and price.
Or email us directly sales@tigerfasteners.com